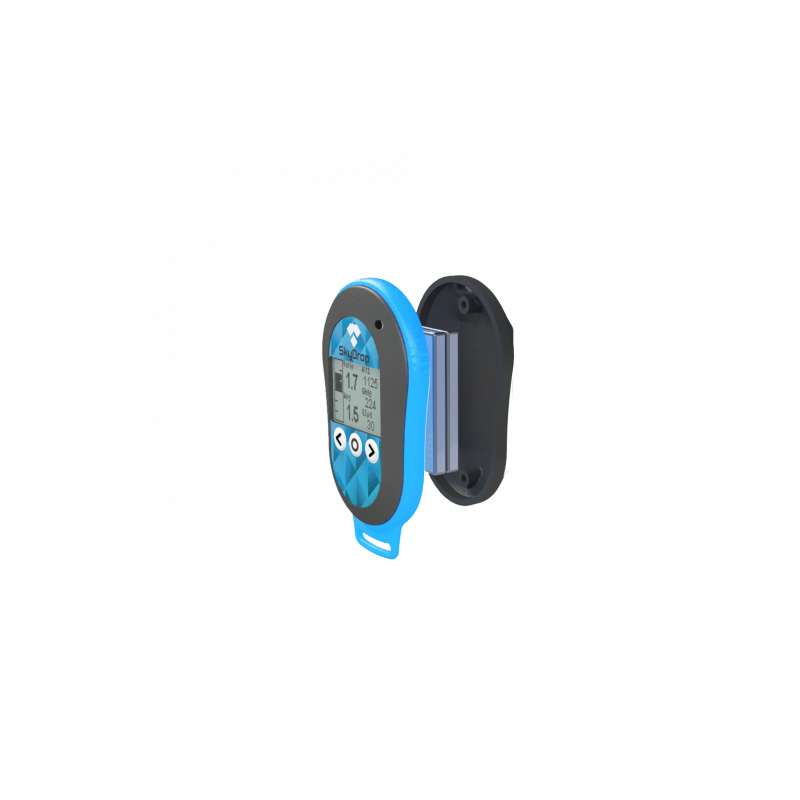
Double battery kit is accessories for SkyDrop vario. It will upgrade former standard SkyDrop to Double battery SkyDrop.
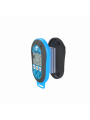
Double battery kit is accessories for SkyDrop vario. It will upgrade former standard SkyDrop to Double battery SkyDrop.
Gain maximum flying hours with double battery kit for SkyDrop. Turn your vario into vol-biv machine for long adventures. Weight of SkyDrop with double battery is only 88g.
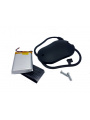
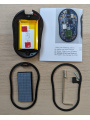
Despite it is quite easy to install double battery kit, some mechanical skills are needed to successfully do it. There is risk of device damage, if user will ignore process steps! Please check support tab to learn more about installation. If you have still some doubts after reading/watching tutorial, write us at info@skybean.eu to make everything clear. Kit contains double battery, enlarged rear cover, pair of screws and sticker.
Physical parameters:
2000 mAh battery is 174% of former standard 1150 mAh battery, so vario will work almost twice long. Here is list of average battery life dependent on enabled functions:
package contains:
Please read/watch tutorial for proper installation of double battery kit for SkyDrop vario. As we cannot guarantee individual technique of every single person, please note that potential damage of device is not covered by warranty. By purchasing this product, you agree with listed notes and you confirm understanding of them.
Please follow there steps:
Watch video tutorial here.
Don't panic if you accidentally screw it up, just write us at info@skybean.eu and we can manage after warranty repair.
I have used my SkyBean every time I have flown since purchasing it in 2016 and the original battery no longer holds a charge.<br /> Unfortunately I managed to damage the circuitboard when removing the original battery so it has been returned to SkyBean for repair and for them to fit the double battery. So please follow the instructions carefully when removing the battery.
Perfect Addition
Perfect add on and Perfect Service.
Doppia batteria SkyBean
Prodotto ben progettato. Facile la sostituzione e l'installazione. Rapida la spedizione.
Second time around
This is my second double battery kit, as the first one only lasted for two years... One of the cells in the first battery swelled so bad that it actually cracked the back casing. Pleased to see that a new slimmer mould is used for the casing so the difference is not so big between single and double battery. Easy to install and keeps the instrument working without charge well over a weekend of flying!
Double battery kit is accessories for SkyDrop vario. It will upgrade former standard SkyDrop to Double battery SkyDrop.